If you’ve never made a cream-based sauce before, chicken Alfredo can feel intimidating — restaurants make it look effortless, but a lot of first-time cooks end up with a sauce that separates or clumps. The good news is that Alfredo is actually one of the more forgiving sauces once you understand a few key moments where things can go wrong. This guide walks through the entire process slowly, explaining not just what to do but why, so you’ll understand the technique instead of just following steps blindly.
If you’re newer to cooking chicken in general, our Simple Roast Chicken with Vegetables is an even easier starting point before you try this one.
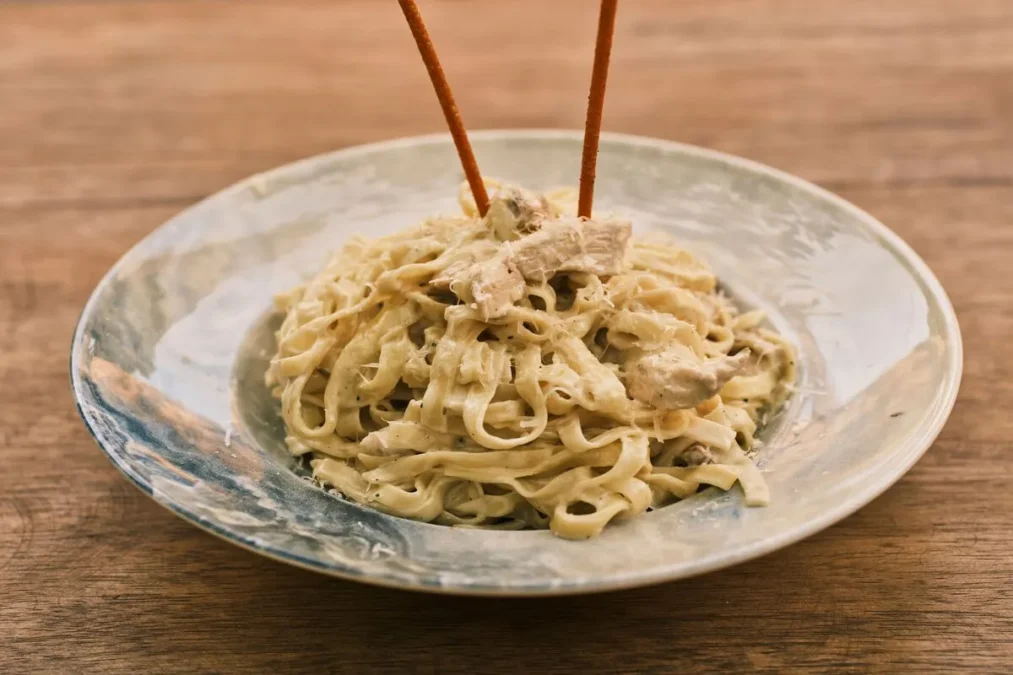
What You’ll Need
Equipment:
- A large pot for boiling pasta
- A large skillet (12-inch is ideal)
- A whisk
- Tongs or two forks
- A ladle or measuring cup (for reserving pasta water)
Ingredients (serves 4):
- 12 oz fettuccine
- 2 boneless, skinless chicken breasts, sliced into thin cutlets
- 4 tbsp unsalted butter, divided
- 3 cloves garlic, minced
- 1½ cups heavy cream
- 1 cup freshly grated Parmesan cheese
- ½ tsp Italian seasoning
- Salt and black pepper, to taste
- Fresh parsley, chopped, for garnish
Beginner tip: Grate your own Parmesan if you can. Pre-shredded cheese is coated in anti-caking powder that keeps it from melting smoothly, which is one of the most common reasons a homemade Alfredo sauce turns grainy.
Before You Start Cooking
Lay out every ingredient and tool before turning on the stove. Alfredo comes together quickly once the cream hits the pan, and you won’t have time to go hunting for the garlic or measure out cheese mid-step. This is called “mise en place,” and it’s the single habit that makes cooking feel less chaotic for beginners.
Step 1: Cook the Pasta
Fill a large pot with water and salt it generously — the water should taste noticeably salty, since this is your only chance to season the pasta itself. Bring it to a full boil before adding the fettuccine, and cook according to the package time, tasting a strand a minute before it’s done to check for “al dente” (firm to the bite, not soft).
Don’t skip this: Before draining, scoop out about ½ cup of the pasta water with a ladle or mug. This starchy water helps thin and bind the sauce later, and it’s easy to forget since your instinct is to just dump the whole pot into a colander.
Step 2: Cook the Chicken
Season the chicken cutlets on both sides with salt and pepper. Melt 2 tablespoons of butter in your skillet over medium-high heat. Once the butter is foaming slightly (not browned or smoking), lay the chicken in without overlapping the pieces.
Let it cook undisturbed for 4–5 minutes. It’s tempting to move the chicken around, but leaving it alone is what creates a good golden crust. Flip and cook another 4–5 minutes on the second side.
How to check doneness without a thermometer: Cut into the thickest piece — the inside should be opaque white all the way through, with no pink remaining.
Move the chicken to a plate to rest while you build the sauce. Resting lets the juices settle back into the meat instead of running out when you slice it. Cut it into strips right before serving, not earlier.
Step 3: Build the Sauce
In the same skillet — don’t wash it; the browned bits left from the chicken add flavor — melt the remaining butter over medium heat. Add the minced garlic and stir constantly for about 30 seconds. Garlic burns fast and turns bitter, so don’t walk away during this step.
Pour in the heavy cream and bring it to a gentle simmer, meaning small bubbles around the edges, not a rolling boil.
The most important step for beginners: Turn the heat down to low before you add any cheese. A cream-based sauce that boils too hard can “break,” separating into greasy liquid and clumps that won’t come back together. Low and slow is the rule from this point on.
Step 4: Melt in the Cheese
With the heat on low, add the Parmesan a handful at a time, whisking until each addition is fully melted before adding more. Adding it all at once is the most common reason home cooks end up with a lumpy sauce. Stir in the Italian seasoning.
If the sauce looks too thick, add a splash of the reserved pasta water at a time until it coats the back of a spoon and slowly drips off — that’s the texture you want.
Step 5: Combine and Serve
Drain the pasta and add it straight into the skillet with the sauce. Toss with tongs or two forks for about a minute so every strand gets coated. Plate the pasta, top with the sliced chicken, and finish with a sprinkle of fresh parsley.
Common Beginner Mistakes to Avoid
- Boiling the sauce after adding cream — causes it to separate and become greasy
- Adding all the cheese at once — leads to clumps instead of a smooth sauce
- Forgetting the pasta water — makes it hard to fix a too-thick sauce later
- Slicing the chicken too early — the juices escape, and the meat dries out
- Using pre-shredded cheese — melts unevenly due to added anti-caking agents
A Note on Nutrition
Chicken Alfredo is a rich, indulgent dish, and a typical homemade serving falls somewhere in the 600–800 calorie range, largely from the butter, cream, and cheese. It’s also a good source of protein and calcium. If you want a lighter version, swap the heavy cream for half-and-half, or serve with whole wheat pasta. For general guidance on fitting richer meals like this into a balanced diet, the USDA Dietary Guidelines for Americans are a helpful reference.
Frequently Asked Questions
My sauce looks grainy — what went wrong? This usually happens from using pre-shredded cheese or adding the cheese while the heat is too high. Next time, grate your own cheese and keep the burner on low once the cream is in.
Can I prep any of this ahead of time? You can slice the chicken and mince the garlic ahead, but the sauce itself is best made fresh — cream sauces don’t reheat well since they tend to separate.
What if I don’t have heavy cream? Half-and-half or whole milk with a bit of flour whisked in will work, though the sauce will be noticeably less rich.
Is this recipe freezer-friendly? Not really. Cream-based sauces tend to separate once frozen and thawed. It’s best eaten fresh or refrigerated for a day or two.
Once you’re comfortable with this one, try building on the same skills with our Easy Ground Beef Recipes for Healthy Family Dinners, or treat yourself afterward with our Fudgy Brownies with a Crackly, Shiny Top.